How to use AI for product photography: a step-by-step workflow from reference photos to a store-ready set
A practical AI product photography workflow: which photos to start from, a product sheet for the model, scenes from the same product, checking labels and details at full size, a consistent set, rights, and when to still shoot.
Part of the guide: AI content creation for brands: what you can make, how it works, and what to check before you publish
To use AI for product photography without the product changing along the way, start from real photos of the product, not a written description. From those photos, build one product sheet showing it from several angles, save it as a fixed reference in your tool, and generate every scene from that reference. Check each image at full size against the real product: shape, colour, material, label and text. Anything that does not match is fixed or discarded. That gives you a set that looks like one shoot, with your product rather than something like it.
What AI does well today and where it still breaks is covered in AI product photography, and when a shoot day is better in AI product photography vs a photoshoot. Here we go through the process itself, step by step.
Step 1: reference photos of the product
The tool can only keep the product right if it can see it. You need:
- Front, side, back and top, on a clean background in even light. A good phone by a window is enough, with no filters.
- A close-up of every detail that must stay exact: label, logo, text, stitching, stone, clasp.
- The true colour. If there are several colours, a photo for each. A grey card next to the product helps correct colour later.
- The label or logo file, if you have it. Small text on a product is the first place AI gets wrong.
Step 2: one product sheet for the tool
Arrange the reference photos on one sheet: the product from several angles, close-ups, and scale. Save this sheet in your tool as a fixed reference for the product (different tools call it an element, a character or a reference). From now on, every scene is generated from that reference, not from a new description each time. This step affects the result more than any other: describe a product in words only, and the tool draws a different product in every image.
Step 3: a shot list
Before generating anything, write down what you need, exactly as for a shoot day:
| Image type | Used for | What matters |
|---|---|---|
| Product on a clean background | Product page, marketplaces | Exact colour, a natural shadow, the same angle for every product |
| Product in a scene | Category page, social, banners | A scene that fits the audience, light that suits the material |
| On a model or in use | Product page, ads | Correct scale, natural hands and faces |
| Close-up | Product page | Material, texture and the details customers want to see |
| Formats | Social and ads | Square, vertical 4:5 and story 9:16, with room for text if needed |
For each type, write the lighting, background and angle once, and use the same wording for every product. That is what turns single images into a set.
Step 4: generate, and check every image
Generate several versions of each shot on the list, and choose. Checking is the part that matters:
- At full size, not as a thumbnail. Mistakes in text and small details do not show in a preview.
- Against the reference photo, side by side. Shape, proportions, the number of details (stones, buttons, holes), colour and material.
- Label and text letter by letter. Warped text, a changed logo or an invented word rules the image out.
- Physics. A shadow falling the right way, a sensible reflection, hands with five fingers holding things the way people really do.
- Nothing that is not on the product. An extra button, a different handle, or a lid that opens when the product does not.
An image that fails is not “roughly fixed”. Generate it again, or fix the problem area and check again.

Step 5: retouching and a consistent set
- Colour. Match the product colour to the reference photo, using the grey card if you shot one.
- Label. If the text did not come out exact, replace it with the real label file in retouching.
- Size and crop. The same margin around the product and the same height across all clean-background images, so the category page looks orderly.
- Resolution. Export at a size that holds up to zoom on the product page, in a light format such as WebP for the site.
- File names and alt text that describe the product, for accessibility and search.
Step 6: rights and honesty
Before the images go live, check three things: what the tool’s terms say about commercial use of images made with it, that you did not use other people’s photos as references without permission, and that the image does not show the product better than it is. If the colour, size or material in the image differs from the product, customers will return it, and rightly. The legal questions are covered in AI images and copyright.
When to still shoot
- A product with small, dense text that must be exact, such as an ingredients label.
- Materials that are hard to reproduce: complex transparency, liquid in motion, a very specific fabric texture.
- When there is no physical product to take reference photos of yet; then start from a 3D render or a prototype.
- Photos of real people from your team or community.
Many brands combine the two: one shoot day for the reference and hero images, and AI for scenes, seasons and variations.
Common mistakes
- Describing the product in words instead of giving the tool photos of it.
- Checking at thumbnail size. A wrong label is found only once it is in the store.
- Different wording for every image. The set looks like five different photographers.
- A product nicer than reality. More returns, less trust.
- Skipping the reference photos to save a day. They are the basis of everything else.
Examples from the studio
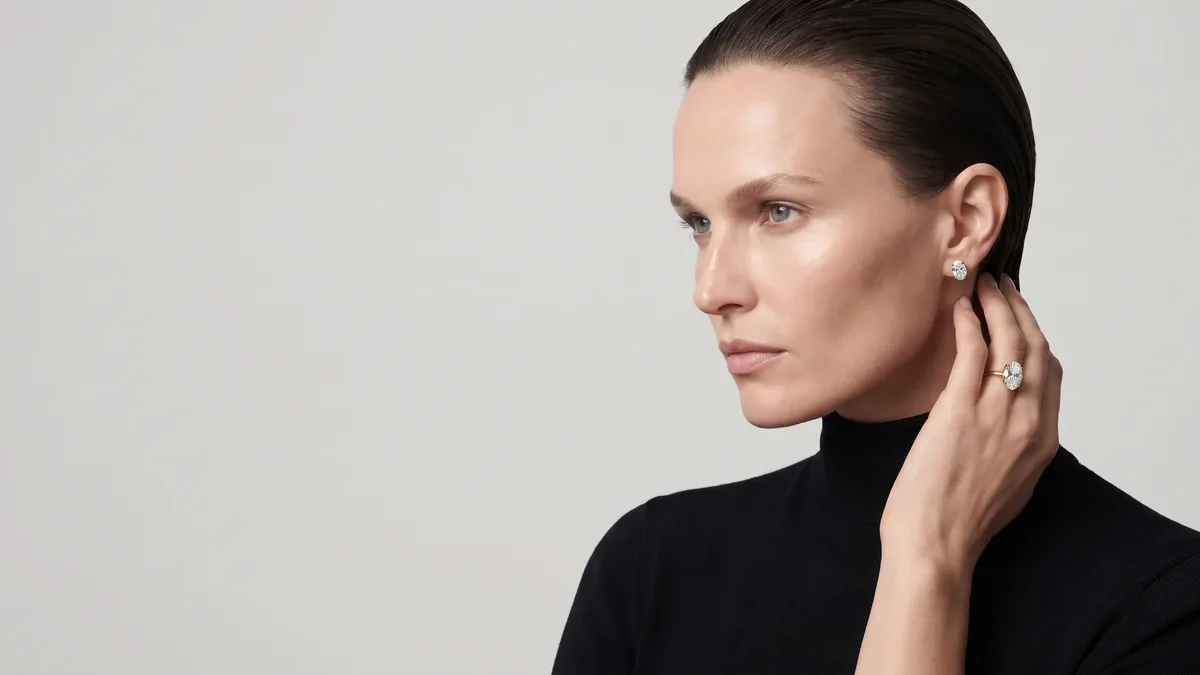
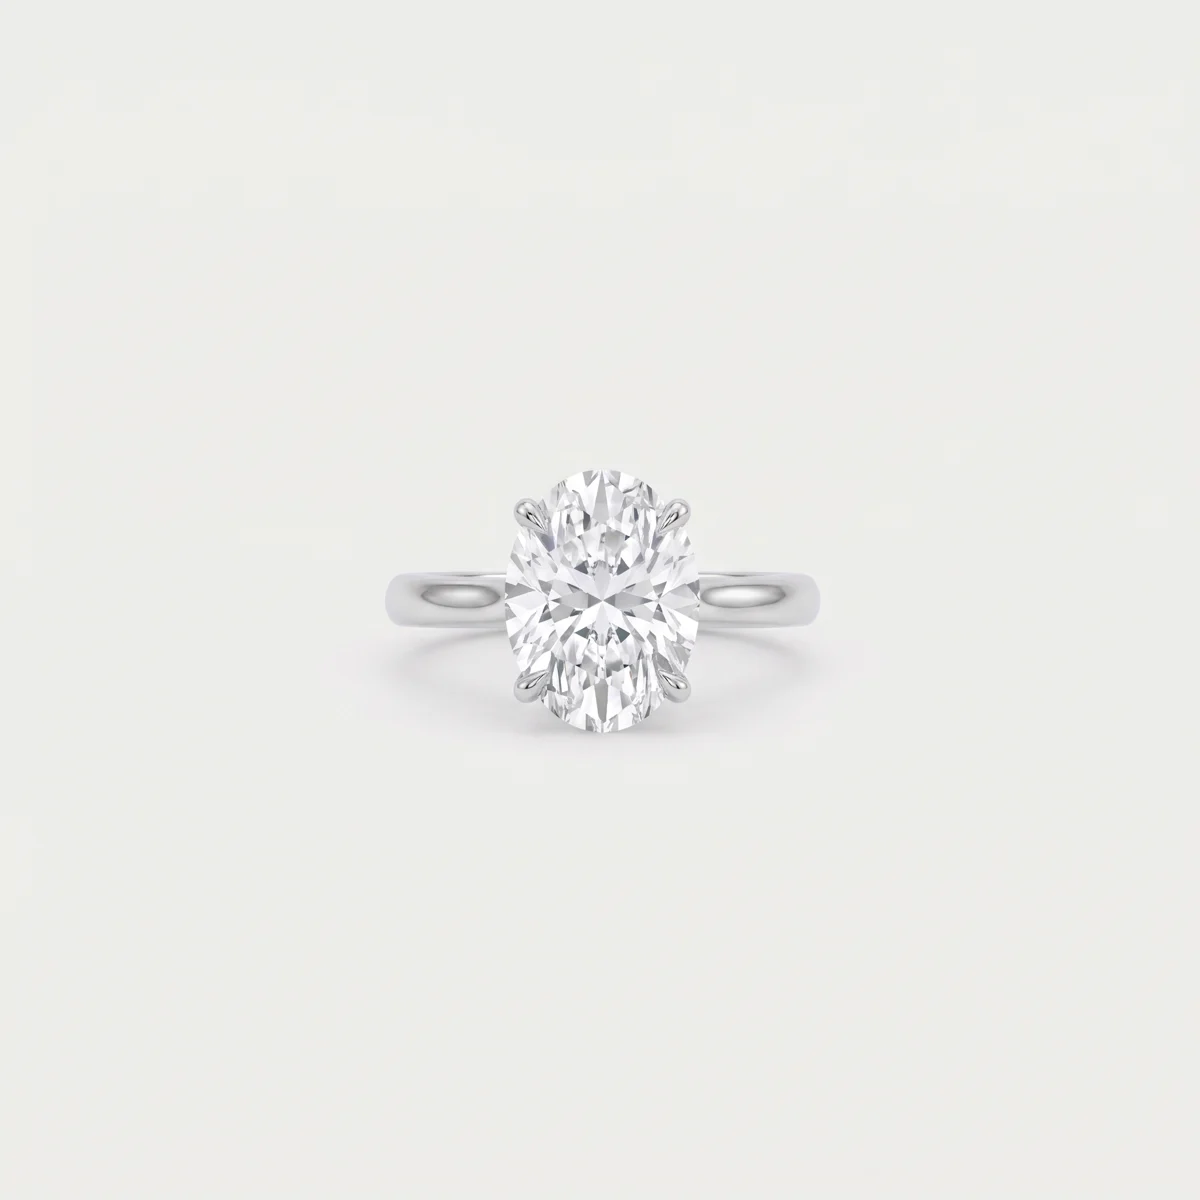
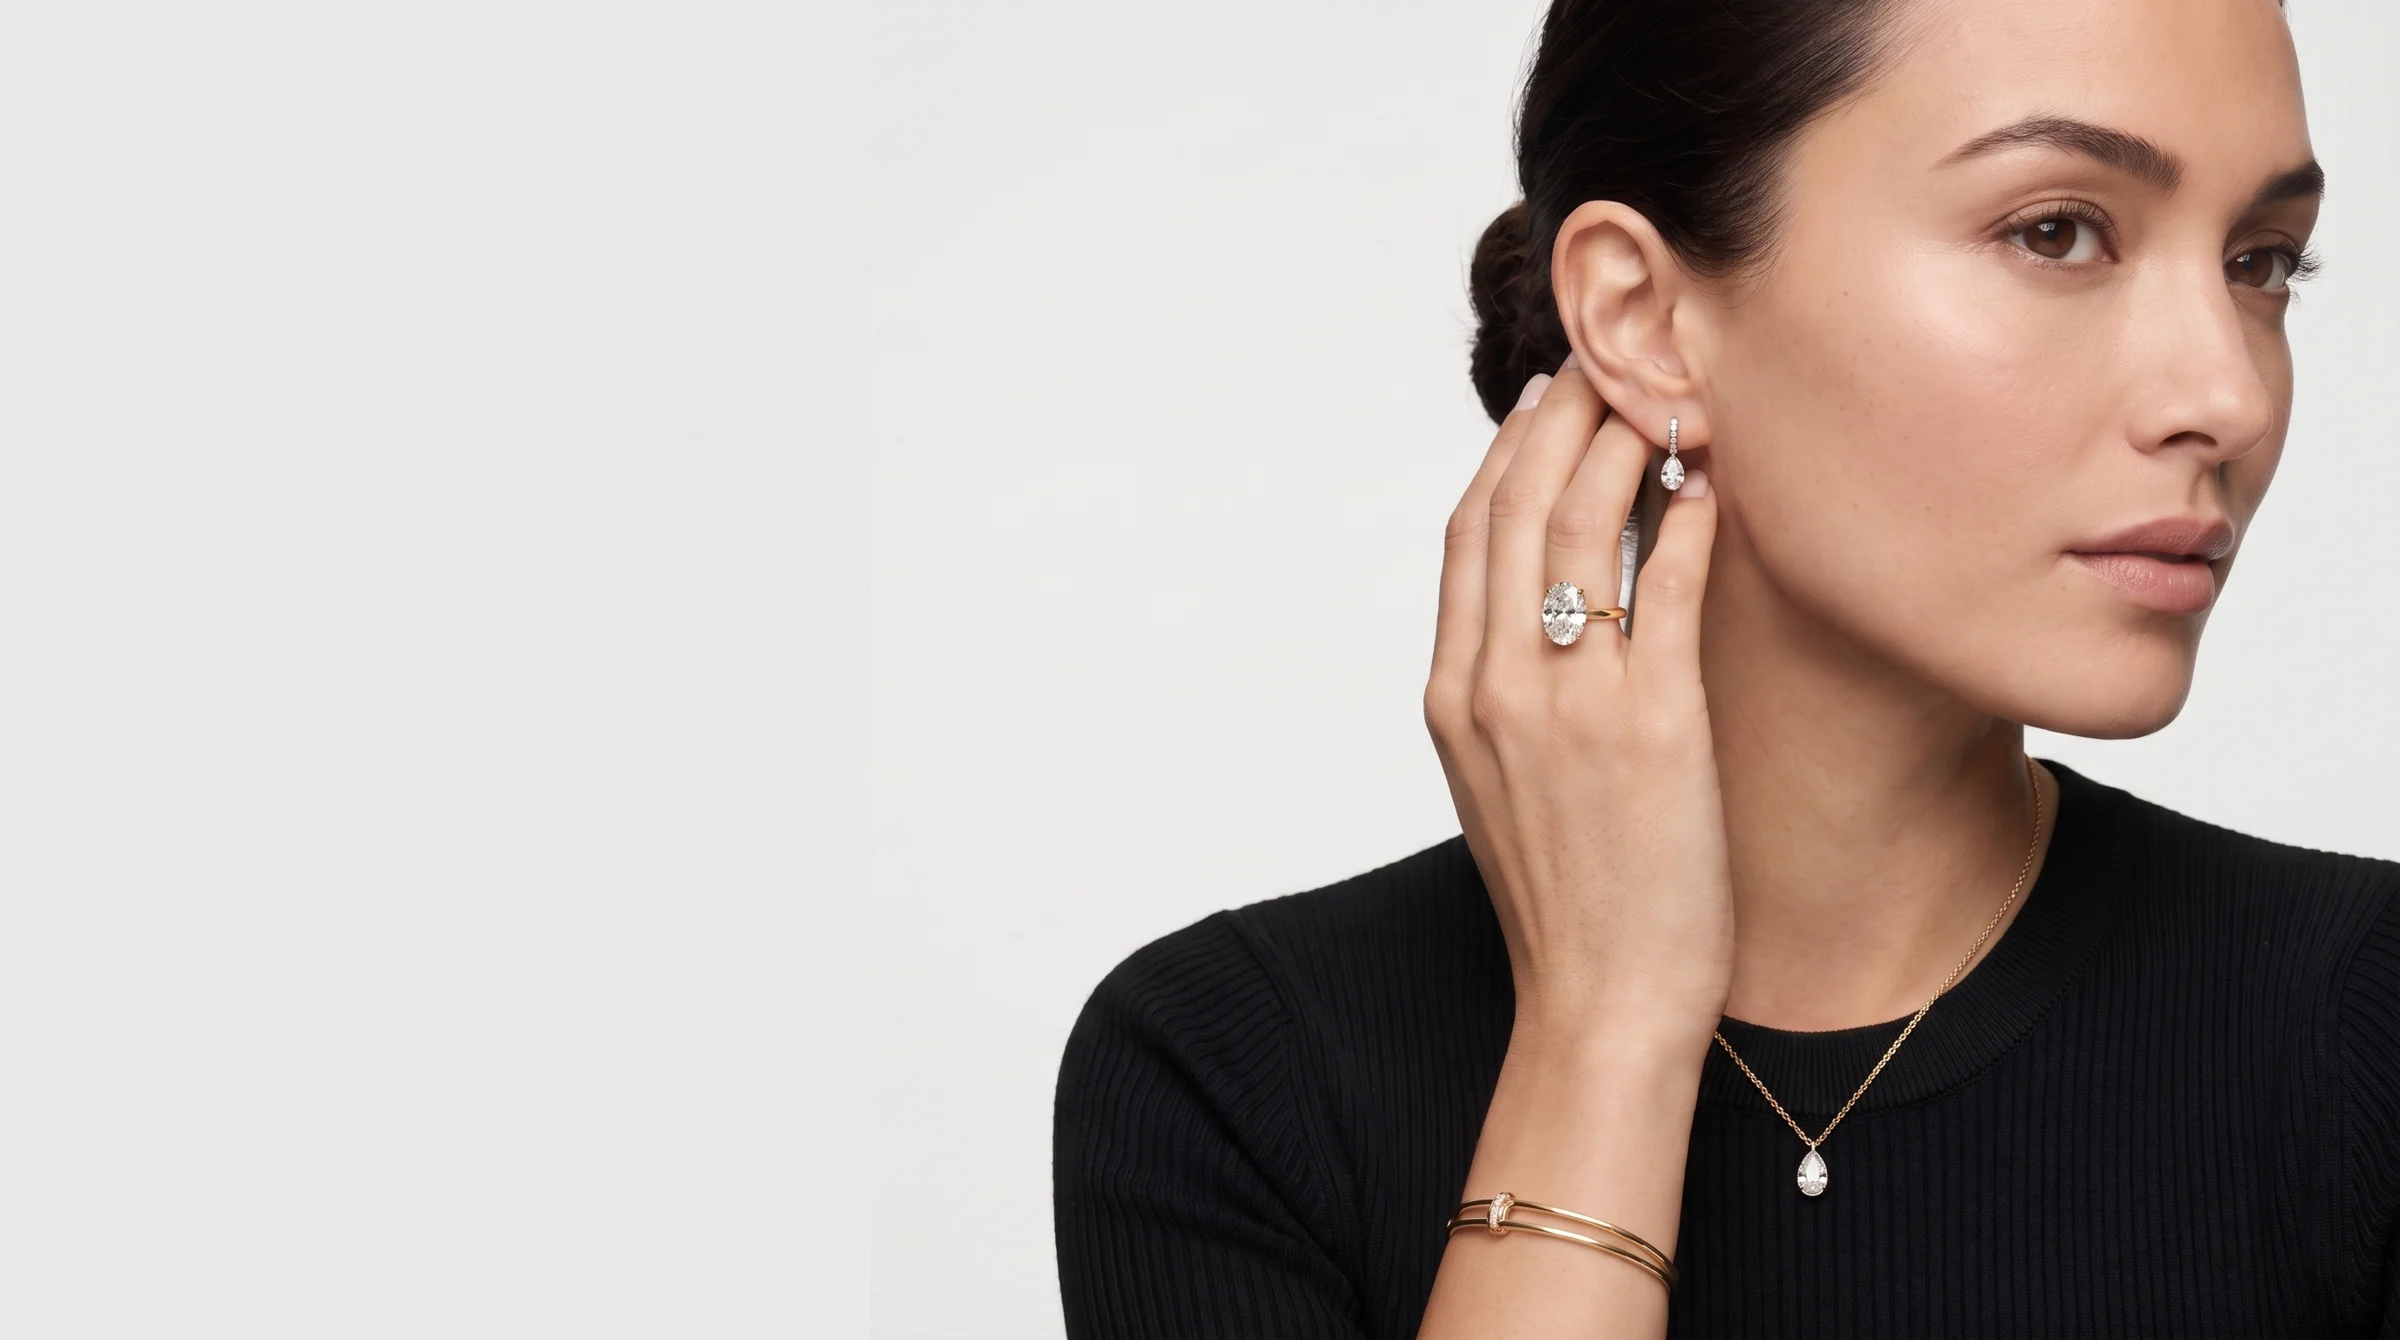
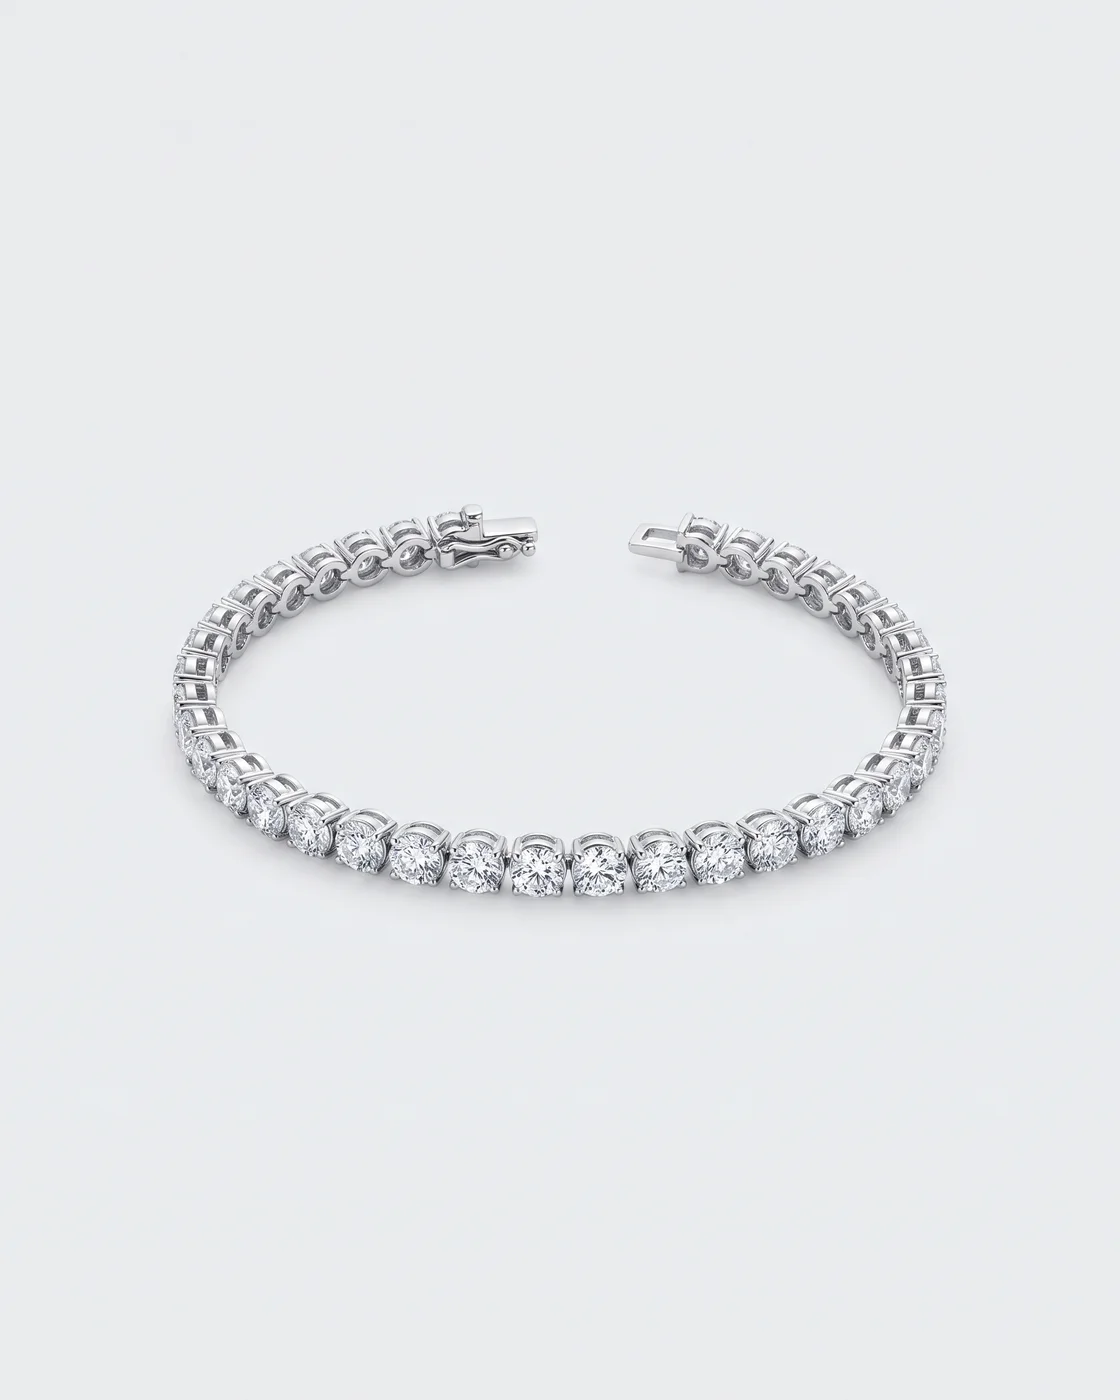
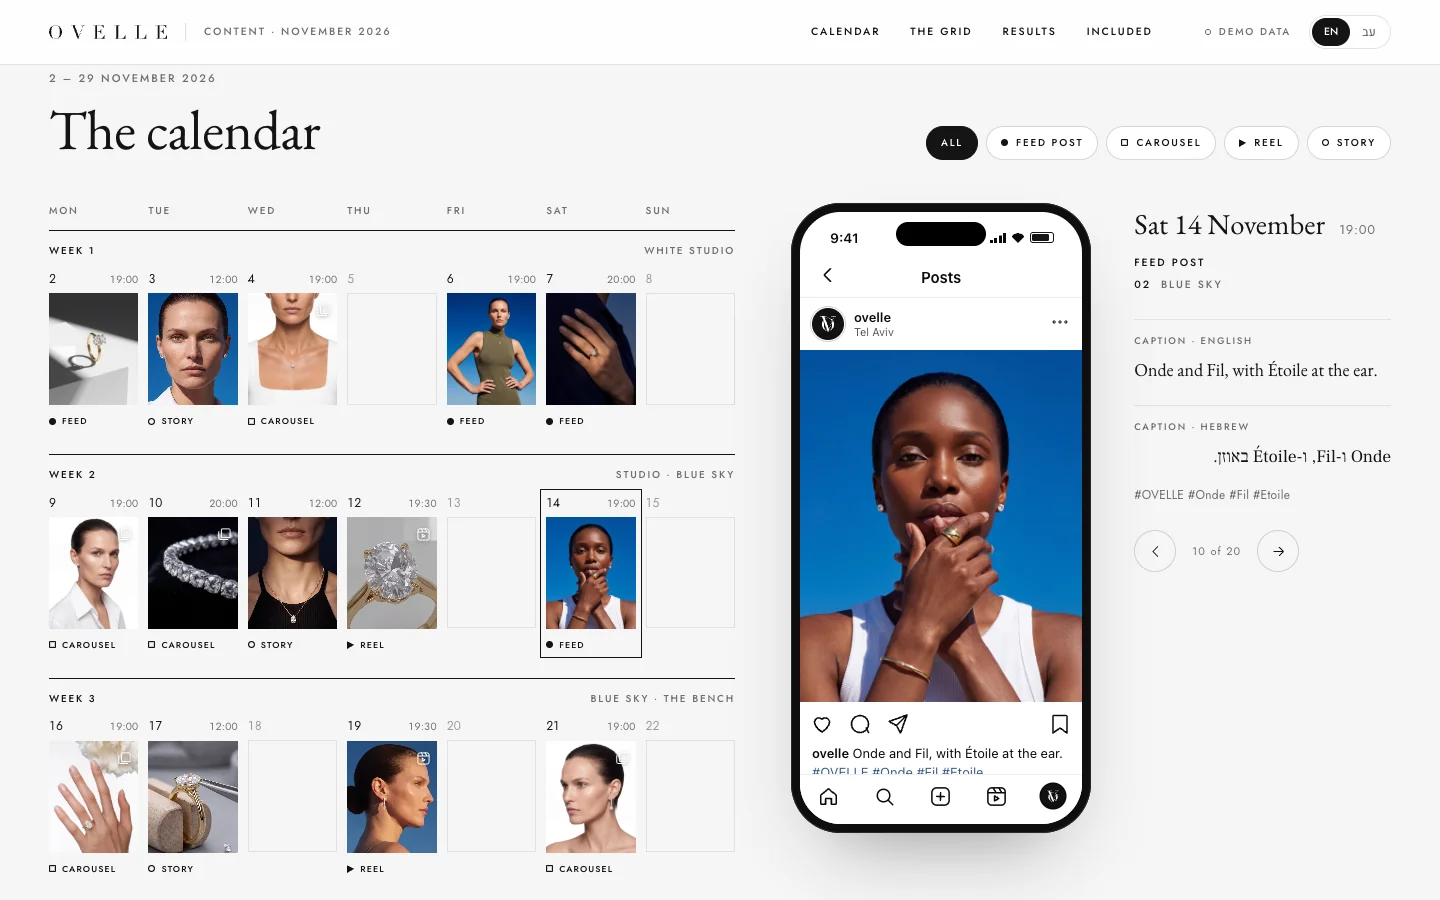
The product images in the OVELLE store, for a fictional jewellery house, were made with AI, including the bracelet at the top of this page. For jewellery, the full-size check covers every stone and setting: the number of stones, their shape and the clasp must match in every image. OVELLE’s month of content shows the same pieces carried into posts, reels and stories in one visual language. These are concepts we built.
AI product photography at Libra
We make AI product images and video for brands: from reference photos and the product sheet, through the shot list and full-size checks, to a consistent set for the store, social and ads. The work is described on AI content. Send a brief with your products, the photos you have, and where the images will appear, and we reply by email with a direction, a written price and a date.
No term matches.
Questions
How do I use AI for product photos without the product changing?
Start from real photos of the product from several angles, build one product sheet from them, and save it as a fixed reference in your tool. Generate every scene from that reference, and check each image at full size against the real product.
Which photos do I need to start?
Front, side, back and top on a clean background in even light, close-ups of the label, logo and details that must stay exact, and a photo for each colour. A good phone by a window is enough.
What should I check in an AI product image?
At full size and against the reference: shape and proportions, the number of details, colour and material, text and label letter by letter, sensible shadows and reflections, and nothing added that is not on the product.
Can I use AI-generated product images in my store?
Usually yes, under the tool’s terms of use. Do not use other people’s photos as references without permission, and do not show the product better than it is.
When is a regular photoshoot better?
When there is small, dense text that must be exact, materials that are hard to reproduce, no physical product to photograph yet, or real people in the picture. Many brands combine one shoot day with AI for the rest.
Getting started
Want this for your business?
Send a short brief: three required questions, the rest only if you like. We reply by email with a direction, a written price and a date.